| | | Caramelized Pear Sundaes Photo Susie Iventosch | | | | | | This recipe for caramelized pears is super simple, which is probably a good thing after the last two recipes we've featured. Serve it over your favorite vanilla frozen concoction, whether it's ice cream, frozen yogurt or some other variation, like coconut milk or soy "ice cream" and you have an easy, delicious dessert. You can make the caramelized pears ahead of time and reheat them, or just start them as you serve dinner and they'll be ready to go by dessert time. Gather together a pear, butter, brown sugar, cinnamon, cardamom and pear or apple juice and you're ready to go. If you prefer apples, you can also make this very same dessert with apples, too. Honey Crisp is our apple choice for this recipe. Serve this over pancakes, too, for a fun breakfast treat.
 Caramelized Pear Sundaes
Serves 4 for dessert
INGREDIENTS
1 large red Anjou pear, (use a firm pear, not one that's too ripe)
2 tablespoons butter
2 tablespoons brown sugar
1/2 teaspoon cinnamon
1/4 teaspoon cardamom
Dash of salt
1 cup pear or apple juice
*Optional: 1 tablespoon brandy or calvados (add in with the last cup of juice)
Garnish: 4 cinnamon sticks
Vanilla Ice Cream
DIRECTIONS
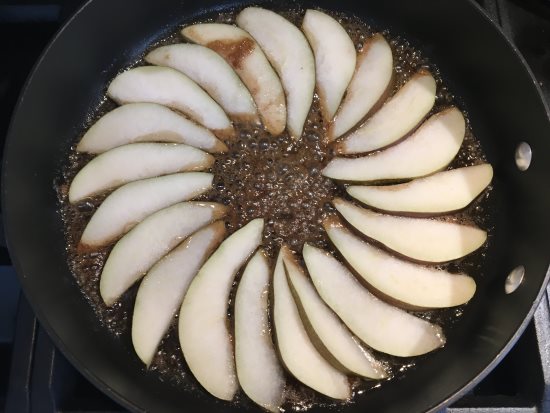
Then slice each quarter into thin slices, approximately 5 slices per quarter, for a total of 20 slices. Heat butter in a skillet over medium-low heat. When melted stir in brown sugar, cinnamon, cardamom and a dash of salt.
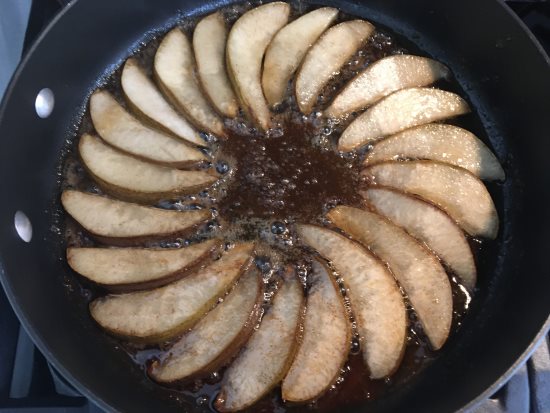
Arrange pear slices on top of the butter brown sugar mixture, and cook over low heat for approximately 12-15 minutes per side, or until just beginning to turn golden-brown. Add 1 cup of juice and simmer over low heat for 30 minutes or so, until the pears begin to caramelize. The juice will reduce down and thicken to a syrup during this process.
Serve the warm pears over vanilla ice cream and spoon the syrup over all. Garnish with a cinnamon stick.
That's it! Enjoy! |