| | Published May 10th, 2023
| How to almost effortlessly hang your artwork
| | | By Jim Hurley | 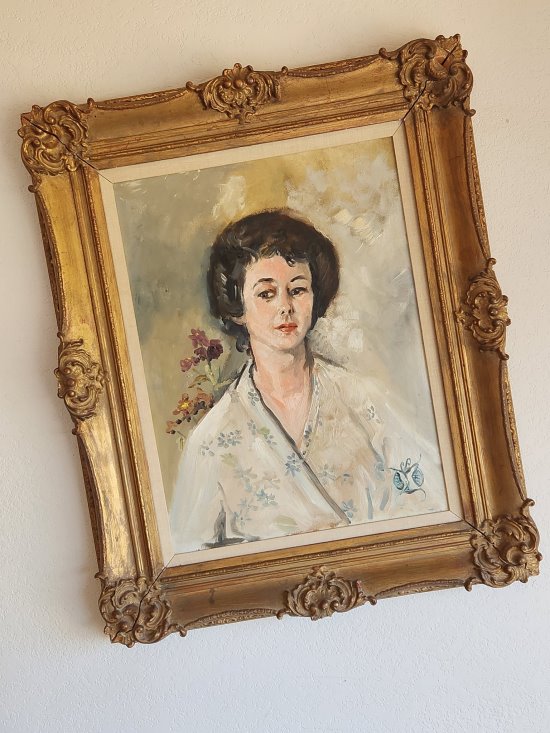 | | Photos Jim Hurley |
Congratulations! You're moving into your new residence and hanging your artwork on the walls. Unless you have an original René Magritte, you might want to do this yourself. Grab your tools: A hammer, a level, a power screwdriver, and a drill. Get a good tape measure. Your sewing tape or 12-inch ruler will not suffice. I prefer a 25-foot measuring tape that stays rigid for a good reach. Also, a helper is very useful, if your artwork is large.
 And you'll need hooks. What kind of hooks? Hanging methods vary from piece to piece. Some frames come with eyelets and wire, some with loops on each side, and some have little clips like saw blades that grip on to matching clips on the wall. Of course, in California, we should not forget about earthquake protection and there are clips especially for that too.
Picture hangers are rated by capacity, that is, the limit of weight they can hold. Pick up the piece you want to hang. Does it weigh more than a five-pound sack of sugar? Maybe it feels more like a 10-pound bag of flour? If it is heavier than that, you should probably pick it up and step on the bathroom scale. Then set it down and weigh yourself. Subtract your weight (alone) from the first weight and you know exactly how much it weighs. Be sure your hanging clips are rated at that weight capacity or greater.
Now, where will it hang? Think of the space on the wall as a frame. Your goal is to hang the picture frame in the wall frame (space) on the first try. Let's define that wall frame. Is it between two windows? Between the fireplace and the door? If the door opens, does the frame get smaller? How do you want the art in relation to the frame? Most people prefer symmetry and choose to hang it in the center of the imagined wall frame.
Are you hanging more than one piece in the wall frame? One technique for arranging multiple pieces is to place the art on the floor in a space the same size and move the items around to find the arrangement you prefer, then transfer that arrangement to the wall.
Your next decision is how high to hang it. If it is a big piece, you might think about placing the top so it is level with a nearby door frame or window frame. If it is smaller, then you might want to center the focus of the work with the average height of a person (5'9") so that it meets the eye. Weigh all of these considerations along with your individual taste and aesthetic and you are ready to hang your art.
Measure your wall frame and find the center (if you are centering the piece). Mark the center with a pencil or some painter's tape. Then have a helper hold the piece up on center and have them lift or lower the art so you can determine what height works. Then mark that height at the top of the frame on the wall.
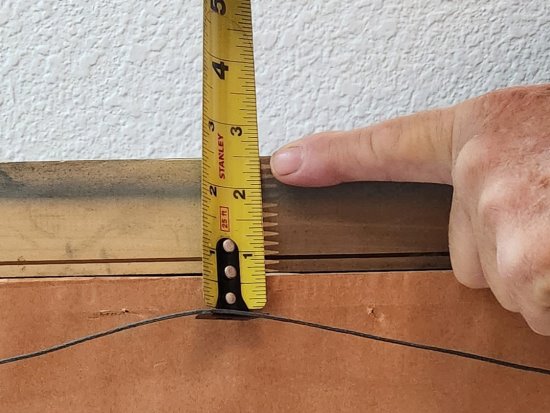
Now, determine the height of the hook relative to the top of the picture frame. If the frame has a wire, pull the wire with the tip of your tape and measure to the top edge of the frame. Measure down from the top mark on the wall and install the hooks as needed.
I have seen a plastic gadget advertised on TV that is intended to make this process easier. It holds up the picture and allows you to mark where the hook needs to go. Ask yourself: Do I hang art frequently enough to justify buying such a gadget? Probably not.
Mirrors are generally much heavier and should be hung with heavier duty hooks. I often use molly bolts or plastic wall anchors and screws for heavier pieces. These require a drill and power screwdriver to install, but they are much stronger than a hook and nail in the sheetrock when you have a heavy mirror or piece of art that you love. One thing I don't use are the wall anchors that come for free with the piece you're hanging. They are typically very cheap and frequently don't hold or the screws strip out. I carry a variety of fasteners in my truck, but a special trip to the hardware store to buy good hangers is worth saving the frustration of trying to use the free hangers that don't work.
As one client asked me, "Why do I always have 10 holes in the wall behind all my pictures?" Hopefully these tips can help you avoid having to buy increasingly larger pieces of art to hide those holes. |
 | | Photos Jim Hurley |  | | Jim Hurley is an independent handyman with over 25 years of experience in residential repairs. Hopefully this free advice is helpful to someone attempting Do-It-Yourself home repairs. The information presented is intended for informational purposes and for use by persons having appropriate technical skill, at their own discretion and risk. | | | | | | | | | |